Getting back at it

Well seems like I have taken a bit of a break from the blogging just recently. Lots of reasons mostly due to using my extra energies and free time to try and set up a festival. Unfortunately due to numerous reasons we have had to cancel it last month.

Oh well Festival would have be this Saturday ……..but ……….. means I have my time back for my creating.

I have still been crafting and creating a little over the last few months, so I have a few projects to share over the next few weeks (once I find the photos). In the meanwhile I will work to shift the back log of projects I had ready and waiting for gifts to make that are now well over due now. (perhaps just make Christmas pressies now)


Easter prayer flowers

Every so often I’m not the only one in the house that comes up with the crazy crafty plans. J was planning services and a few weeks ago was telling me about a plan to cut out some heart shapes for writing prayer on during one service, so that they could then be made into flowers to add to the cross in the church on Easter day. I foolishly asked the question “and who is going to make these heart prayers into flowers?” Nothing wrong in asking (even if I did have suspicions) but at that point he had not thought that far ahead and it was at that point it thought oohh your good at crafty things like that…..

So, after having cut out about 60 hearts a few weeks earlier, on the Saturday evening before Easter day I was doing some cutting and sticking to complete my man’s crafty plans.

20150404_234306


These first ones were made by folding all the hearts in half and sticking them to a cardboard circle with a shortened section of egg box painted yellow in the centre.


20150404_234247

These were a bit more fiddly but sadly this photo doesn’t really show them very well. To make these I first folded the hearts in half and rounded the bottoms. Then I stuck them directly to the egg box cut out. Once I had stuck on about 3 layers of hearts (and the glue was dry enough,) I gently bent the petals outward to make the bloom.

I then punctured a hole through the centre of each flower big enough of garden wire to make a stem of sorts so they could be attached.

And below the flowers in situ the our churches Easter cross.

2015-04-05 12.20.47


Making skirts

Hannah, the lovely lady who running my sewing course, ran a one off session a few Saturdays ago on how to make a simple skirt of the kids.

I had brought along an old dress that I had used while I was pregnant to make the skirt but upon closer inspection it was decided it would be wiser to start using a normal cotton fabric, so used some of the lovely purple fabric Hannah had brought along.

10505450_804039559674264_4337418383698759514_n

Skirt 1: Using some of Hannah’s fabric stash.

After successfully making skirt one there was time to make another one, so I thought i would use the dress I had brought with me.

10945540_804039443007609_1623730994617250298_n

Skirt 2: Before

I thought it was not a stretchy fabric and hadn’t realised it was cut on a bias. These 2 factors made sewing the second skirt rather more interesting as it stretched as I ironed it and then even more as I was sewing the top. Still once the elastic was in it seems to have turned out rather nicely. This one is also longer than the first skirt… I had actually planned it that way.

10945387_804039489674271_3181388003022920180_n

Skirt 2: After

Upon bringing them home R (whom they were both made for) decided to wear both, one on top of the other, for the rest of the day. If that isn’t appreciation I’m not sure what is.


Frozen Castle

20150105_144745[1]

I love my girls and for the moment my girls love the film Frozen.

As it turned out my 5 year old wanted a Frozen castle for Christmas. Now she was very happy with the gifts she had got but was quite put out that Santa had forgotten this very important item. Mummy didn’t know.

Of course, we had lots of conversations about being grateful for what we have and explaining you can not have everything you want. Santa brings you presents not everything your heart desires. Then she went and had a ball in a new ball pit (which she had also asked for).

I had considered buying her a castle, even looked it up, curiosity really, but the prices (especially post Christmas, when most places had sold out) were extortionate!

Then a crafters mind wanders and starts thinking … it wouldn’t be too hard to make one would it?

I had a few ideas how but thought best to raid the realms of Pinterest first. Have to say some mum have found some great ways to make different castles but my favourite was this one from We got our hands full

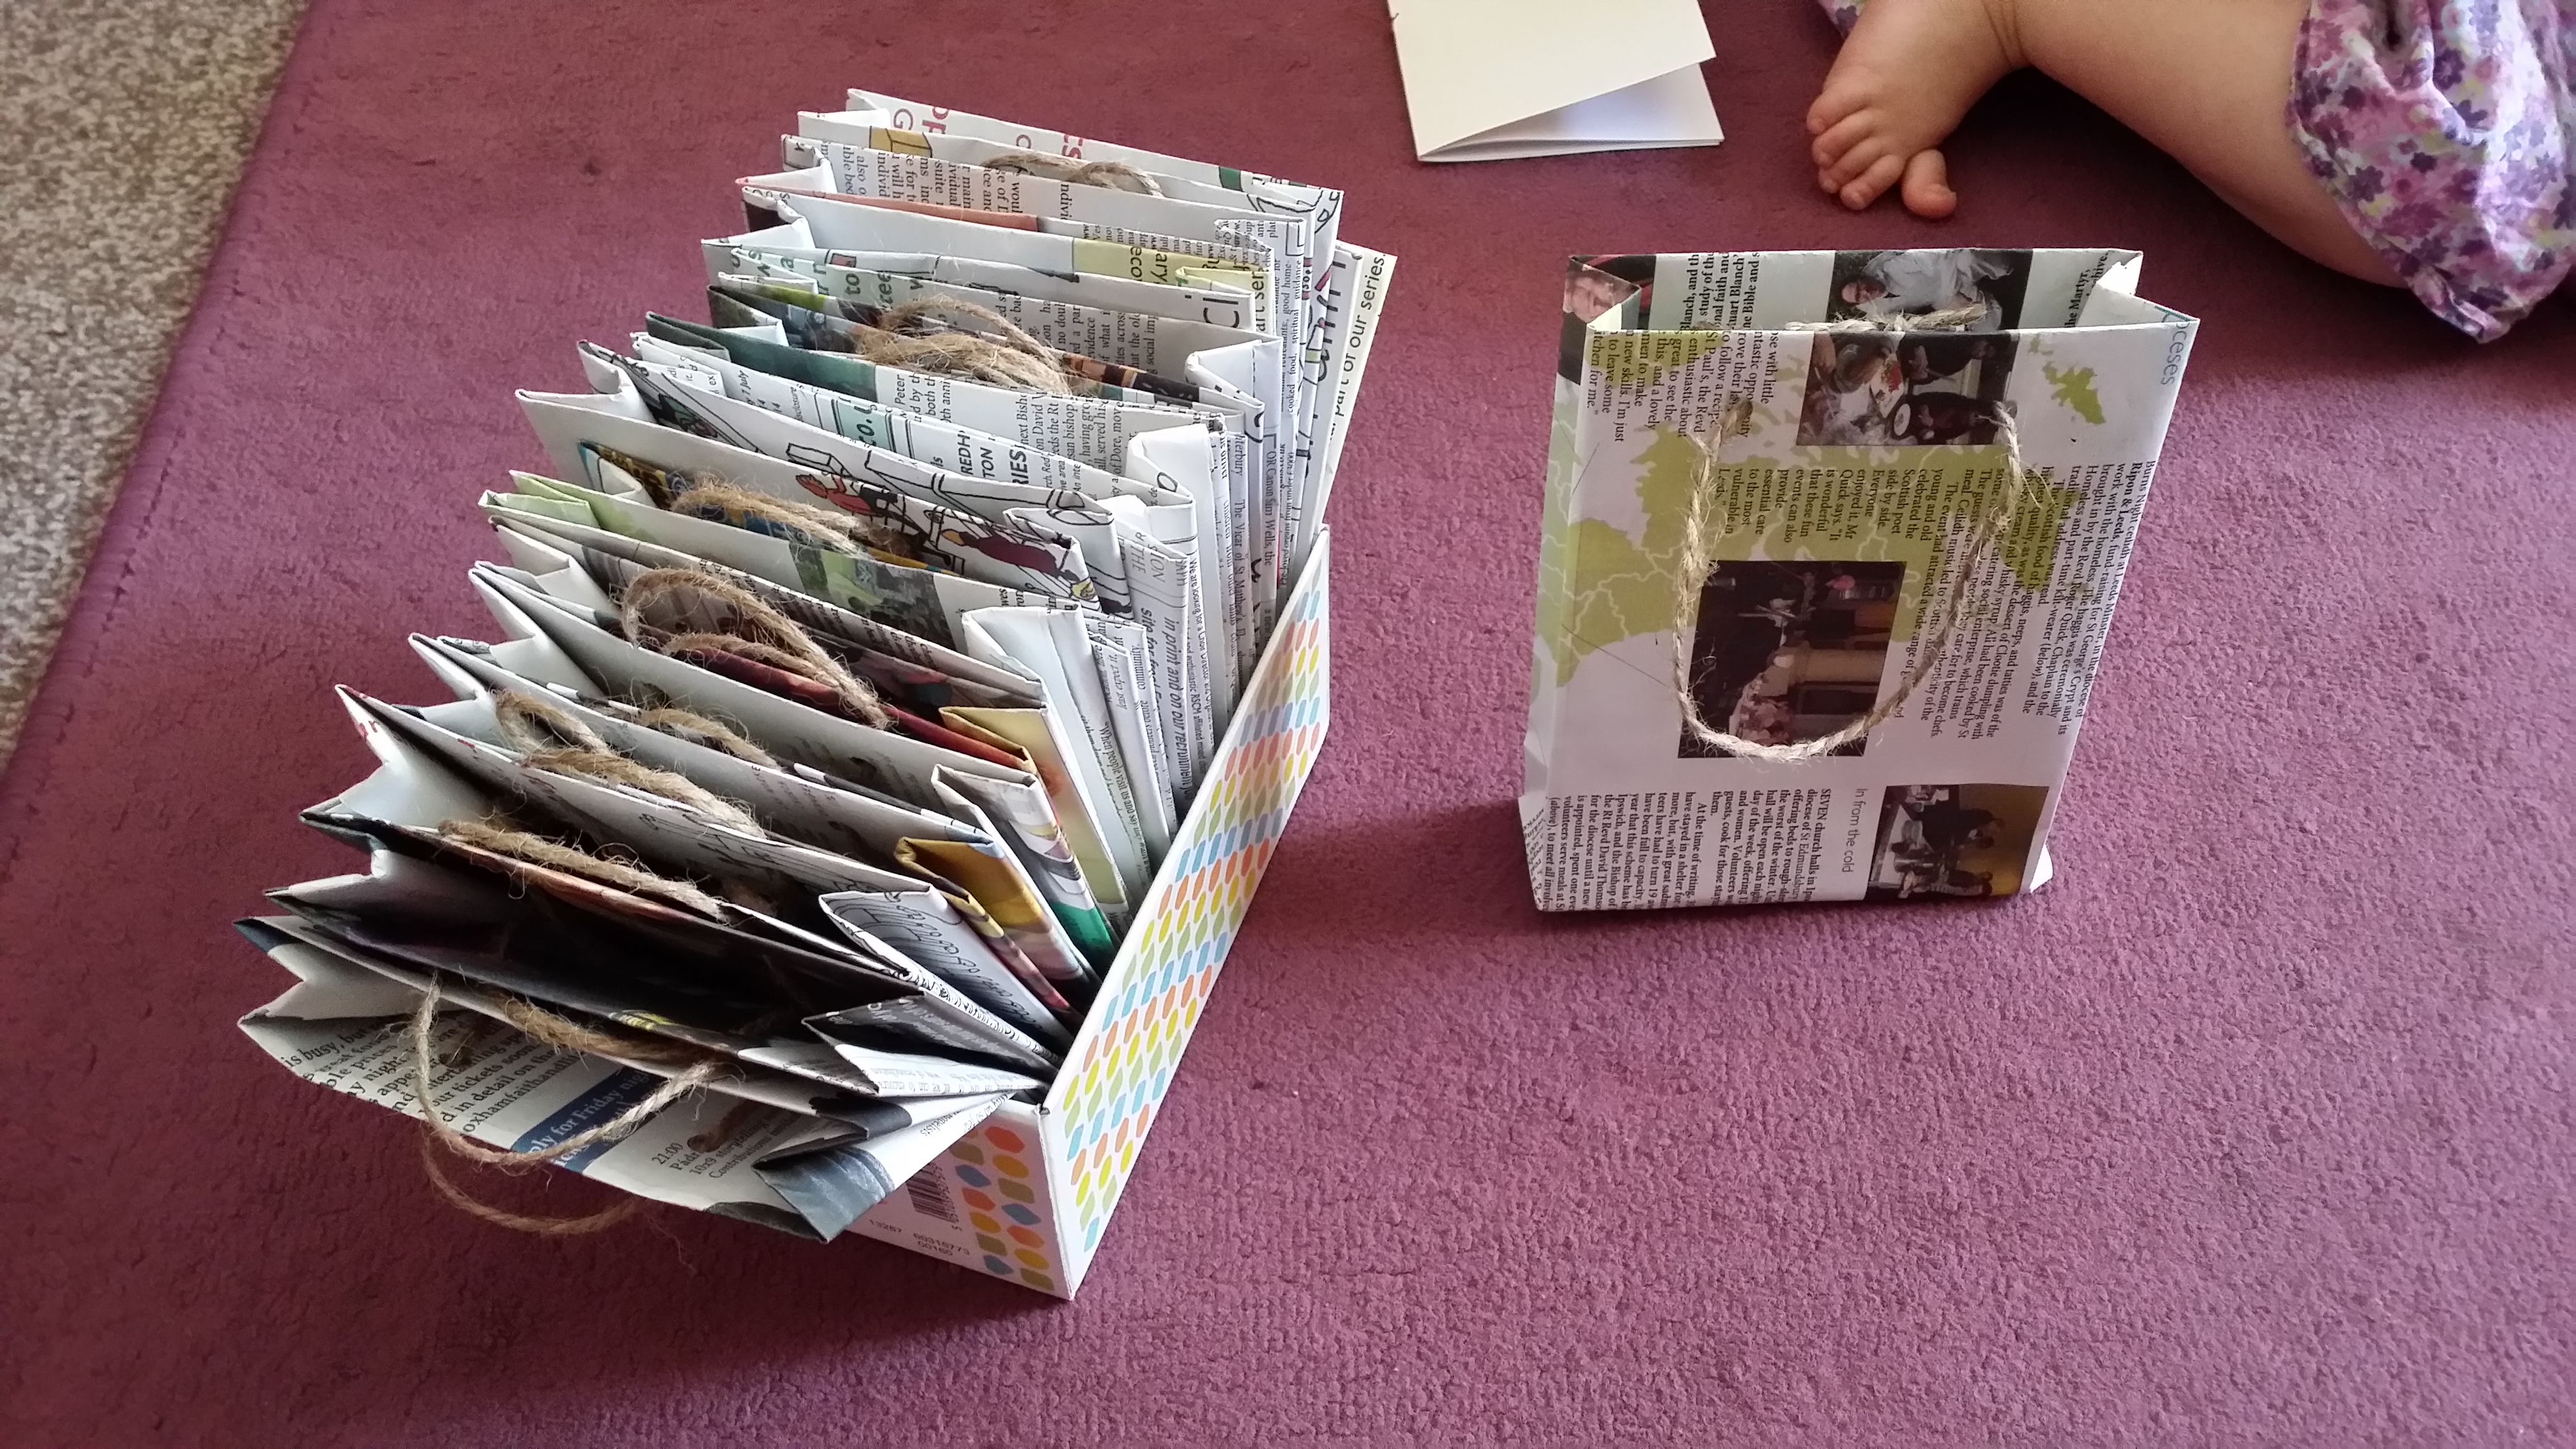
Well I didn’t have the castle pattern print out but it seemed an easy enough shape to make. Dug out a cardboard box that was going to be recycled and made some rough sketches based on the pictures in that post.

Hid the cardboard pieces so the kids didn’t see it during the day.
The next night I got a proper ruler (not the side of a lovely new garden set) straightened the lines, actually measured towers so that they were evenly sized, centred the balcony and door properly. Then I started cutting. (I cut one side panel then used it as a template for the other side panel)

2014-12-29 23.34.10

Notice no roof sections. That is because I sized them up after putting the castle together because it seems easier to me to get all the slots in the right place that way. Remember I didn’t have a print out pattern to cut round (may have been easier to look for one in hind sight but it all turned out fine)

Next the painting

That was the real trick. Firstly to get the right colour and secondly to hide the pieces every morning before the girls came into the sitting room as I had to leave them out to dry over night.

Painting took 4 nights so that they had 3 coats of paint on both sides of each panel. I made sure to paint vertically so had any streaks (not really shown in the pictures) they just would add to the ice effect.

Out of interest I used the girls poster paints mixing blue, white and a small but increasing amount of green on each layer, with an equal amount of PVA glue for added strength and to make sure it would stick to the cardboard and any labels.

image

The floor of the castle needed to have the snowflake so again I searched on-line (Google this time because, on this occasion, Pinterest failed me) and found a version closest to the one in the film. Find the one I used here. Cut it into a hexagonal shape as didn’t fancy doing all the detail on the snow flake and not sure it would have added to the effect either. Printed it out on photo card (slightly thicker than photo paper) I just stuck this down with PVA.

20150105_121703[1]

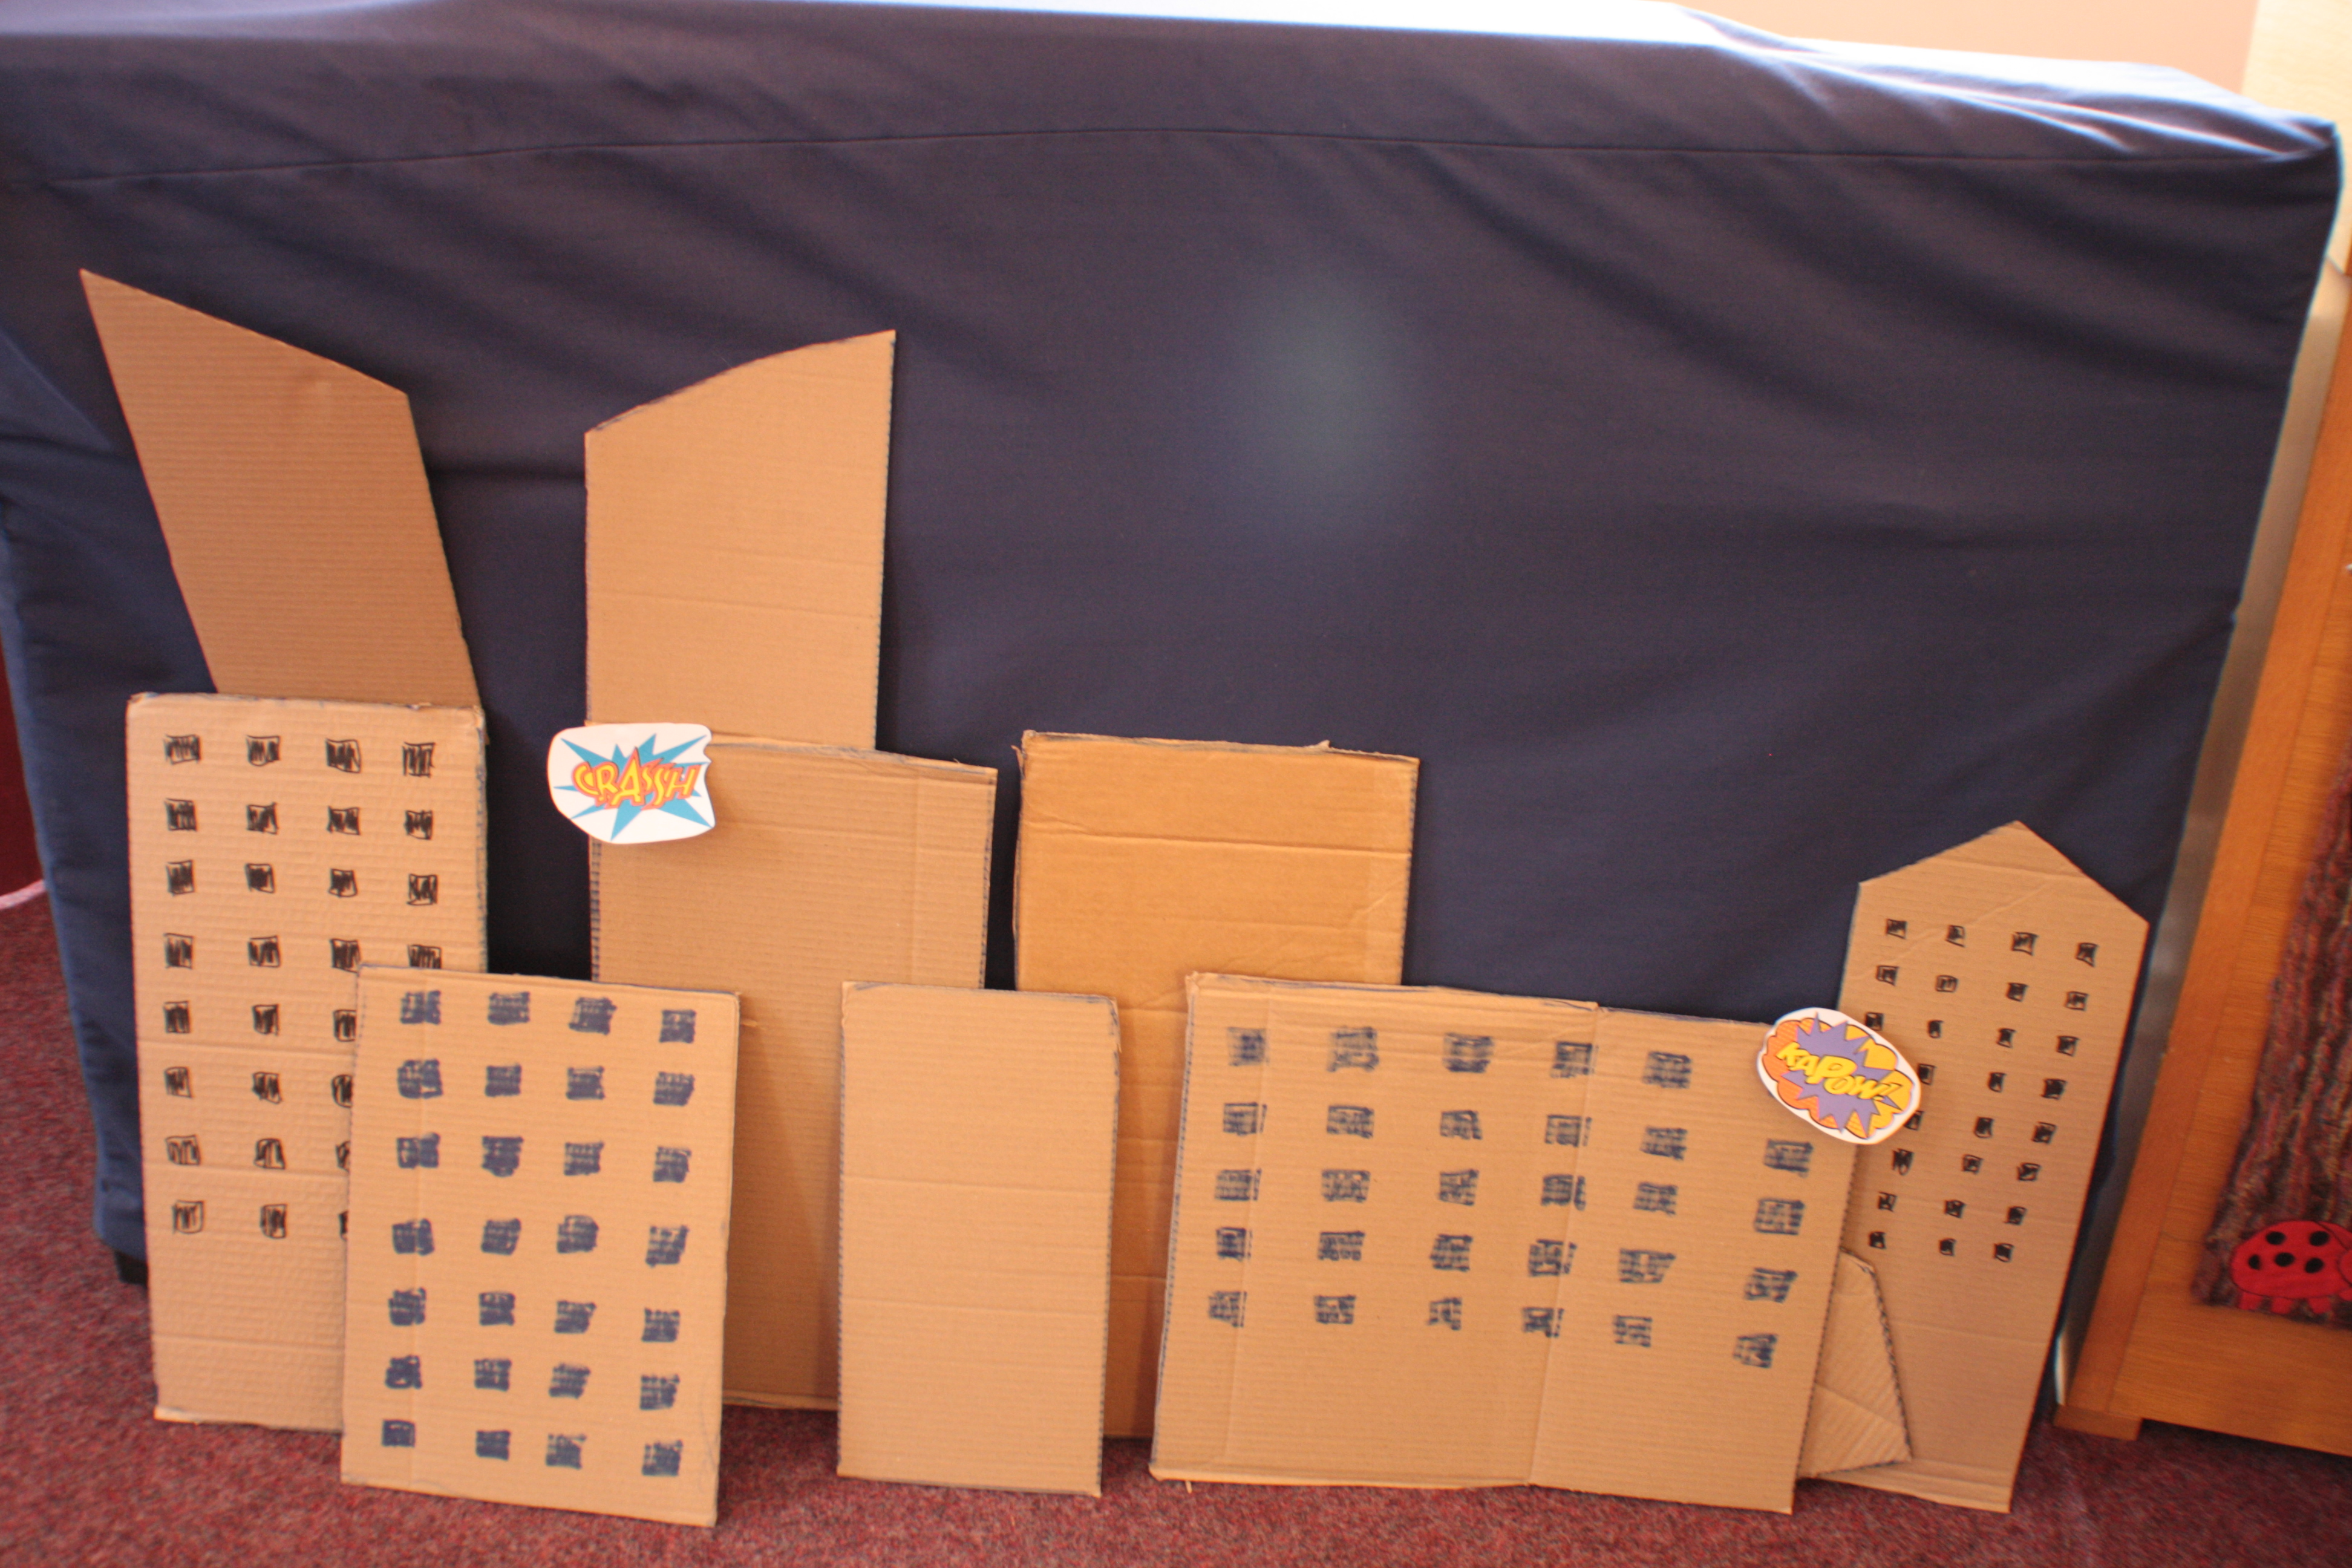
Finally the characters, because there is no point having a castles and no one to play in it.

For this I came across some wonderful printables. My chosen one for this project found here

Because of the size of the castle I had to print the sheet out at A5 size. I cut them most of them out leaving the white because I was afraid it would make them too easy to bend and break if I tried to cut out the detail.

I stood them up using cut pieces of cardboard rolls (from things like tin foil and wrapping paper). I attached them with glue and double sided sticky tape (double sided sticky tape attached quicker, glue sticks longer and better once dry)

Once attached the card rounded a bit which actually improved the appearance of them (I think so anyway)

Time to put it all together and see if it works.

Once constructed I sprayed the structure with some glitter varnish spray I happen to have in my craft stash. It has given it a lovely shimmer, again not really shown in the pictures but if you look closely at the close up of the balcony you can just about see it.

20150105_144714[1] 20150105_144838[1]

20150105_144745[1]

I’m pretty pleased with myself I have to be honest. It has come out rather nicely and little miss was very happy to find it. OK it is not the strongest structure as you can only really pick it up (safely) by the balcony level floor board but definitely a success.

Please let me know what you think?

If I was to continue or do it again I probably would actually make a base for it and paper mache along the joins for strength. I had decided against putting a rail on the balcony and I think it would get in the way of play .

I very much recommend searching out fab ideas on Pinterest and for more ideas, and cool print outs please feel free to check out my Frozen board (yes I had to make one)

Long post hope you enjoyed it

October card makes 2014

Not a very successful month for card making but made up for it by making one awesome card šŸ™‚

2014-10-24 22.31.01


Crafty group

Ever on the search for a crafty group I can drop in and out of (because of having to time table kids and husband) I have finally made it along to a “sew night” at my local wool shop. They also have a knit night that I am allowed to pop along to, even though I do crochet not knitting šŸ˜‰
Coming completely unprepared I was allowed to borrow everything I needed and we made these cute little pan handle holder mice (looks a bit more like a fox to me) and pumpkin.

2014-10-24 15.06.41

I haven’t decided weather I want to “complete” the pumpkin by adding the scary face that is just about visible in the photo.

I think I might just leave them off.

Upcycled wool holders

I recently read a blog about reusing fruit nets for making new things.

The main idea that stayed in my mind was using these meshes as bags (especially for sandy and wet toys).

So a while back when I happened to have a such a bag, that had come with some toy the kids had.

So I used some spare ribbon.

Folded the top few layers of the mess bag in on itself and wove the ribbon through.

So now I have a little mess bag ready for use.

Well I didn’t use it for the kids toys as originally planned, as i found it just the right size to fit my wool while doing my crochet.

It stops the wool running away while I’m using it and stops the kids too (possibly just look less tempting)


2014-10-10 22.54.22

I have since made a few more with the mesh bags that oranges come in from the supermarkets (on the left in the picture).

A little bit fiddly but effective.

Now the kids what me to make some for them too!

Autumn crafts with the girls

I know I set up this blog as a place for me to record my makes but I think my girls makes are going to start to creep in because they love making things too and I am proud of them and the thing we do together.

In this lovely sunny Autumn we are been having it is heart breaking to not go outside while we have the chance so when the girls refused to leave the house on day but wanted to craft with a large piece of cardboard they had found. So I agreed to do a project that I had planned in the back of my head but we have to do it in the garden.

First I used my craft knife to make a bare ( and very basic) tree shape from the cardboard.

Next I got a pot of glue and the box of all the leaves, pine cones, twigs, conkers and so on that the girls had collected so far.

While I was cutting out the tree shape the girls decided to make some of their own leaves out of some the the scraps in their craft area.

2014-09-21 14.41.27

Leaves (natural and hand made), twigs and conkers all got stuck to the branches and for the bottom we crushed some of the greener leaves to make a grassy effect.

2014-09-21 15.16.51

we also glittered some pine cones

2014-10-07 17.27.48

After this there was much other glueing, painting and eventually foot prints that resulted in quick baths.

A good but messy afternoon

Card makes August 2014

Between a bit rubbish at posting over the holidays but let get back too it now
Been a good week for me to make cards, yes I know I put August but that have all been made this week.

image

image

image

image

Birthday prep

R had her 5th birthday this week.

This year I promised we would do her a party (sadly lacking in the last 2 years since we moved here).

How to doĀ  children’s party on a budget without making life too difficult for your self????

nope still can not answer that one

but I focused all my crafty energies on party makes last week and feel my efforts help make the party a success.

R asked for a superhero theme so

I cut out some masks (from templates) that the kids could decorate when the arrived

20140711_154047

I cut up some old t-shirts and stitched on some velco to make capes (stunningly modelled by teddy here, really bad photo)

IMG_9355

I cut up some cardboard boxes and drew squares for windows on some (lack of time to do all) for a little photo backdrop. Sadly the kids did not want to pose for me.

IMG_4512

6 days before the party I decided to make a piƱata. Got the girls to help me make it with paper mache over a balloon.

20140711_153946

I put on as many layers as possible hoping to make it strong enough to hold the sweets but turns out I made it nearly indestructible. Mums had to take turns after it proved the kids were not getting anywhere. Ended up being ripped open from a small hole I had left at the top.

You never know how savage children can be until you tell them there are sweets in something they can not open.

IMG_4549

I made party bags from neswpaper

20140711_112525

and some little notebooks to put in (i refuse to spend money on pointless little toys the kids don’t want)

20140711_112347

I also put in some little pencils, balloons and sweets of course

and finally…

The birthday cake

IMG_4531

I didn’t make this but I think it is too awesome not to share

Previous Older Entries